The SUNSTUDIOS Guide to Live Streaming
Even as restrictions across most of the country have eased and working life slowly returns to a semblance of normalcy, much is still uncertain and social distancing measures provide a challenge to the job of physical media production.
As such, live streaming has come to the forefront as a viable solution to getting content made and distributed as well as providing a safer alternative to face-to-face work methods.
Zoom and other video conferencing programs have now become the norm for many companies and smart phones, tablets and social media platforms make on-the-fly live streaming a simple process.
There are situations however when one requires something a bit more powerful in terms of quality than an iPhone.
Live streaming with more professional quality video and audio equipment requires a few more elements than just opening up Facebook but is still a relatively simple process.
What you'll need
So, you have a camera, microphones, lights and all the other equipment you would usually use to create your content but now you’d like to send it out live via a platform such as Facebook Live, YouTube, Vimeo etc. Where do you start?
Firstly, you will need the following:
- An audio/visual source
- An encoder
- A streaming destination
- An internet connection
Audio/Visual Source
This can be your camera, microphone or a computer screen or a media player.
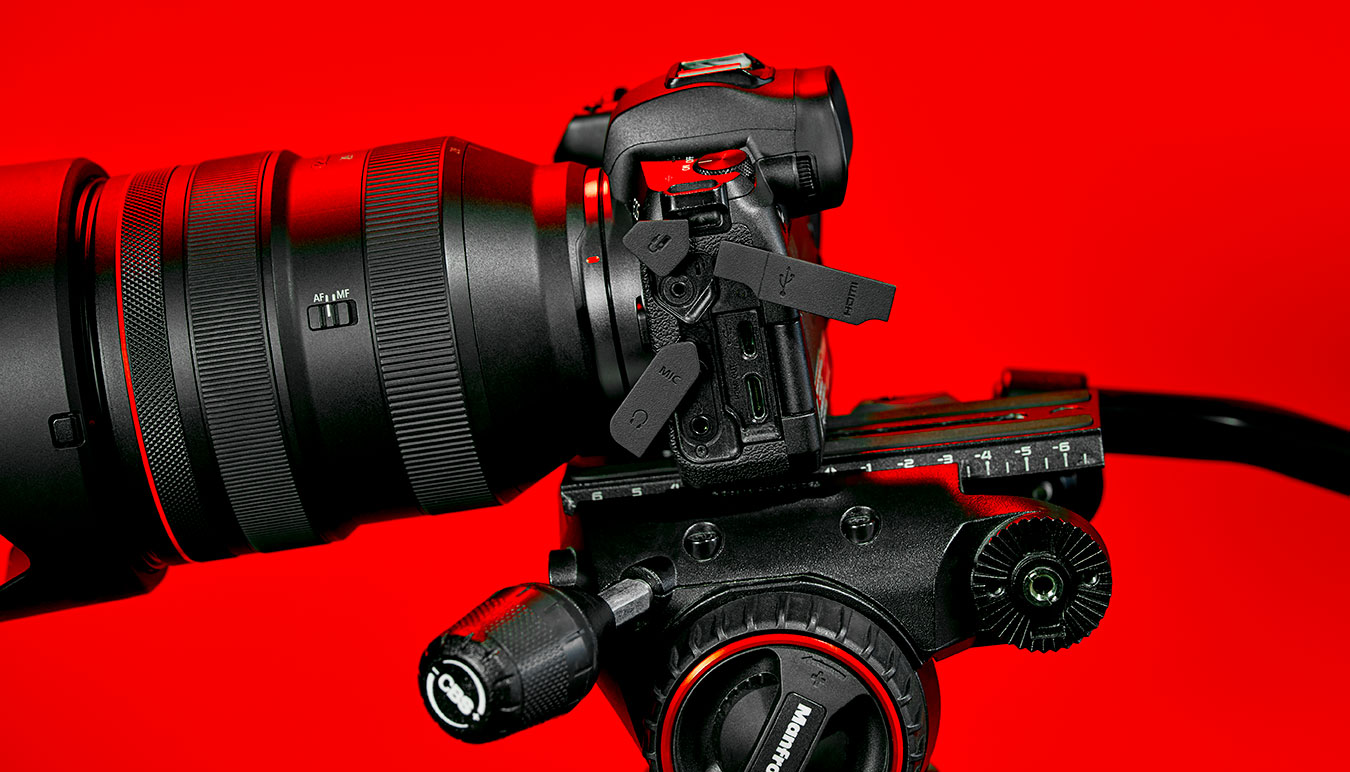
The camera could be a DSLR, mirrorless, Cinema Camera, Camcorder or a Webcam. All of these sources will have some sort of output protocol, most typically an HDMI connection or from professional cameras an SDI output.

Image by WADED
An audio source will likely have XLR, 3.5mm jack or AV connections. When using an audio channel with a camera it will typically be fed through the camera’s mic input with both video and audio being output via the camera’s HDMI or SDI output.
Whatever source you are using, you need to ensure the signal output connection is compatible with the inputs of your Encoder. For instance, if you are using a DSLR as your video source but have XLR shotgun mics for audio and your encoder only accepts an HDMI input, then you’ll need to consolidate those sources into the required feed. One possible solution is to run your mics through a mixer or interface (such as a Zoom H5, H6 or H6n) and output a single audio feed to your DSLR’s 3.5mm mic input. Then your video and audio will be sent via the camera’s HDMI output.
Video Encoder
Simply put, an encoder takes the audio/video signal and converts it for streaming on the Internet. The encoder uses software to compress the source into a digital, web suitable format, as camera outputs that are intended for recording or monitoring are way too bulky for the fast transfer speed required for smooth streaming.
There two kinds of encoders available: Software and Hardware.
Software Encoders
Software encoders are programs or apps installed on a computer or device that uses the device’s CPU to perform the encoding functions. There are a number of free and paid for software solutions available offering a variety of features and customisation options.
Popular encoding software services include Wirecast, Open Broadcaster Studio (OBS) and VidblasterX.
There are two important factors to consider when opting for software based encoding. One is the toll the process may take on your computer system resources, particularly the Central Processing Unit. If your computer’s specs aren’t up to the task, then this will likely compromise your streaming operations.
The second is that you need to process the video signal out of your camera for input into a computer. To do this you need some kind of capture device such as a card or a HDMI to USB converter.
If you are using a Canon camera they have released really useful software to convert your camera to a great quality webcam on both Mac and PC using just a USB cable.
Hardware Encoders
As the name suggests, a hardware encoder is a physical device dedicated to encoding the video and audio sources. All cameras and equipment will connect directly to the encoder via any combination of input ports such as HDMI, SDI, DVI, VGA, XLR and 3.5 analogue audio.
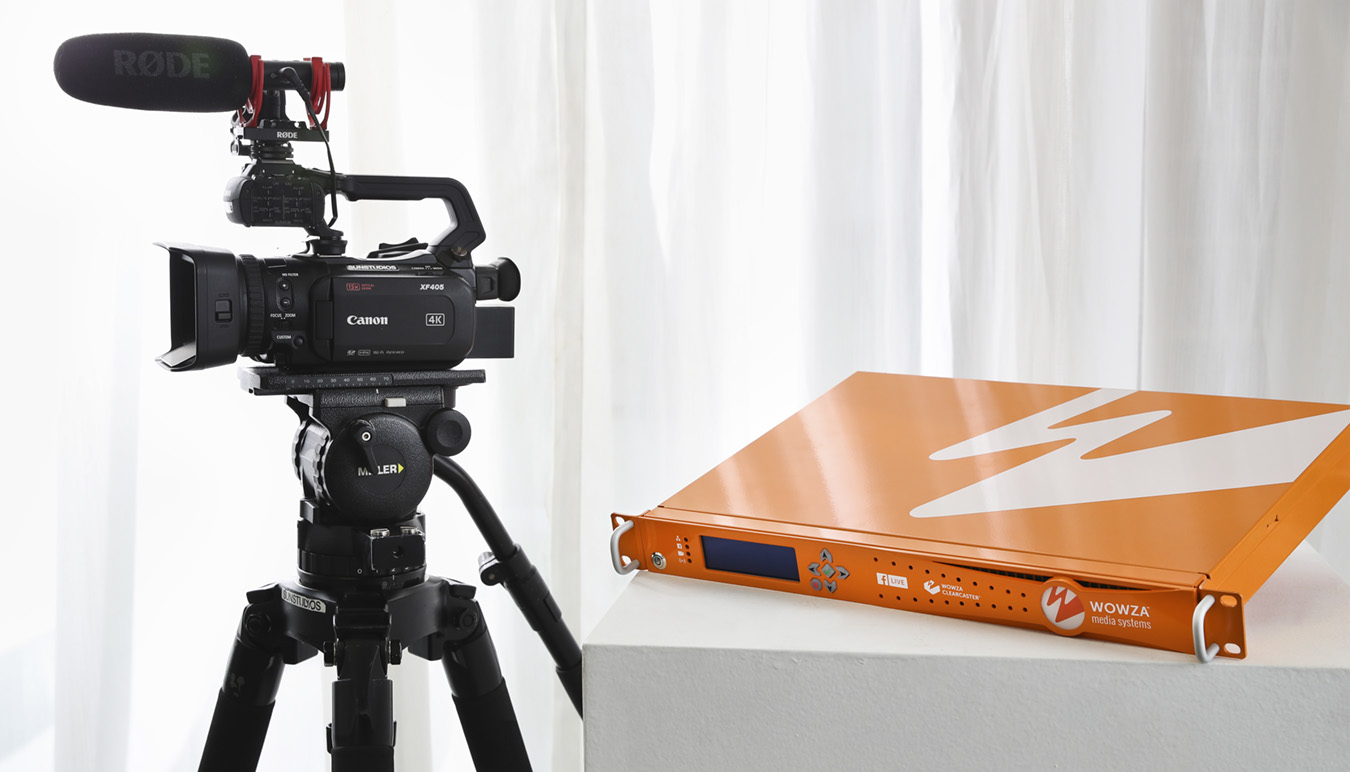
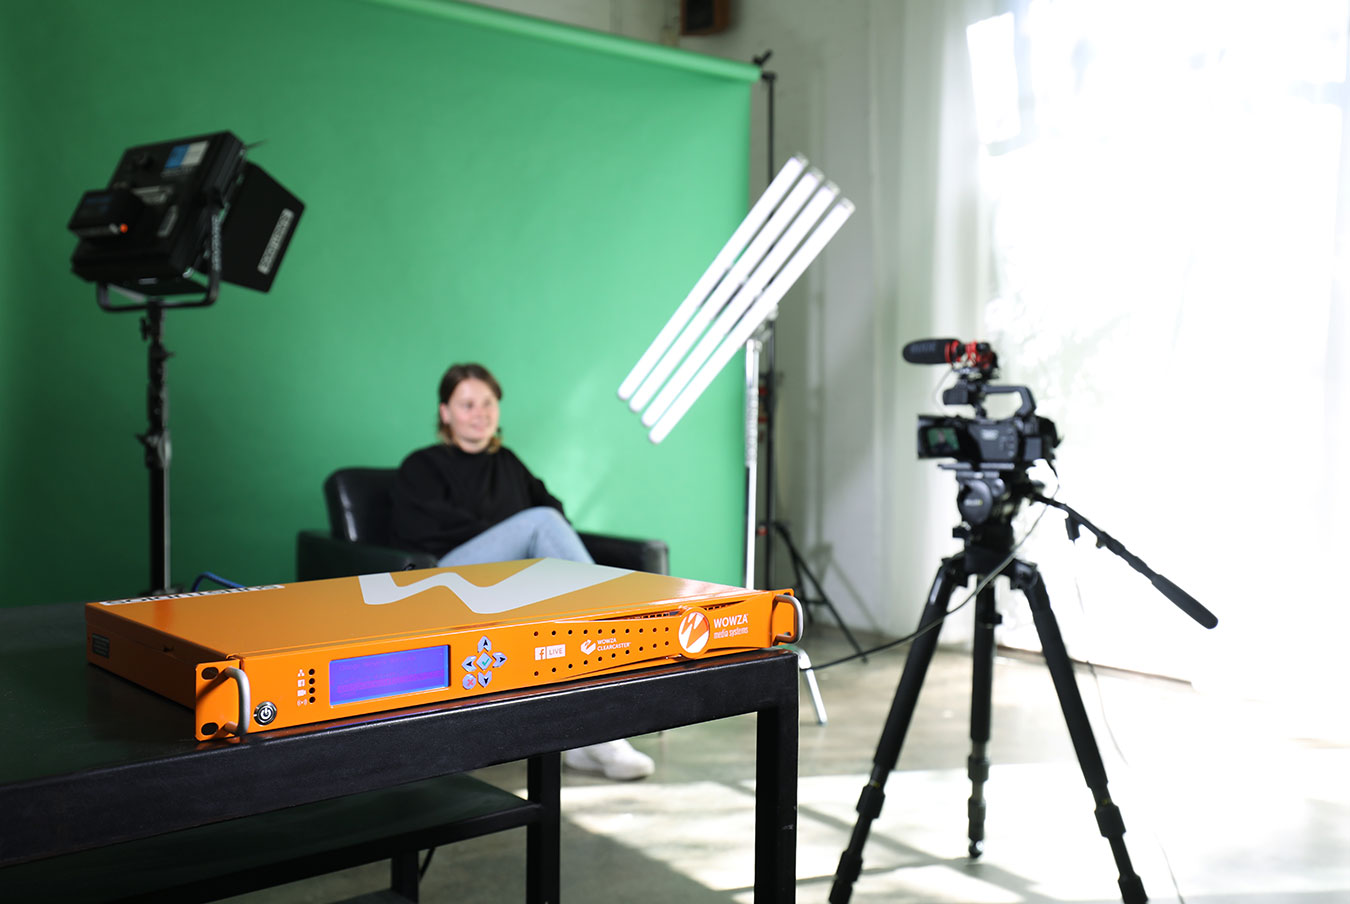
The hardware encoder can be small box – such as the popular Teradeck VidiU Go - or larger rack-mounted modules like the Wowza ClearCaster Pro. Some can double as video switcher/mixers for multiple camera and video feeds, such as the Blackmagic ATEM Mini Pro.
Encoders need to be connected to the internet either via Wi-Fi, an ethernet connection or mobile network in order to stream you content.
Whether using a software or hardware solution, once your sources are connected, you’ll need to understand some basic settings required for streaming.
The encoders will do most of the technical heavy lifting, but the most important configuration settings to be across are:
- Resolution: This the pixel size of the image you’ll be streaming. The most common output resolutions will be 720p (1280 x720 or “HD”) or 1080p (1929 x 1080 or “Full HD”). 720p provides a clear, high definition image without taking up too much bandwidth. For where lower resolution streams are acceptable then 480p “SD” is usually available. And of course, the option of 2K and 4K streaming is an option for high speed network connections.
- Frame Rate: This determines how many video frames per second the stream is transmitted at. Most commonly used frame rates would be 25/30fps or 50/60fps. The higher frame rate will give a crisper image but use more bandwidth.
- Bitrate: This is how much data you’re sending out represented as Kilobytes Per Second (Kps). The bitrate is determined by the quality of your video stream i.e. resolution and frame rate. The higher these values, the more data that is required to be uploaded. Common bitrate values are 1000Kps (the minimum required stream video content), 3000Kps, and 5000Kps but can go as high as 8000Kps. (NB: Some encoders may express bitrate as Megabytes per second (Mps) which is Kps divided by 1000).
- The encoder usually sets the optimal bitrate depending on the required video quality, but it's good to know how the settings interact. Understanding the balance of bitrate, resolution and frame rates - as well as the strength and quality of your internet connection – is crucial to achieving the best streaming results.
- Codec: This is the compression method the encoder applies to the video and audio source in order to stream it. There are several codecs you may be offered to select from but by far the most common is H.264 for video and ACC for audio.
Apart from encoding/compression your sources and setting the quality of your stream, the other main function of your encoder is to deliver it to your required destination.
Image by Heather Fletcher
Streaming Destination
Where is your audience going to view this content at the delivery end? The destination is an online site or platform able to receive and broadcast your content. The most popular platforms (known as a CDN or Content Delivery Network) are the free services offered by Facebook Live, YouTube, Twitch etc. Premium CDNs include Vimeo Livestream, BrightCove, DaCast and Microsoft Azure.
Many encoders come pre-configured for the most common CDNs such as Facebook Live and it’s simply a matter of choosing the required platform from a menu selection. Otherwise manual configuration is required if sending to a private or less known destination.
An Internet Connection
Or rather, more importantly, a STABLE internet connection. With NBN, Fibre and 4G/5G mobile connections now common place in all but remote areas, a fast and steady network is not hard to find. Still, it’s important to know the limits of your connection. A speed test measuring the upload bandwidth of the network is essential. Its recommended you have an upload speed that is a minimum of 1.5x your required streaming bitrate. So, for example, if you’ve set the bitrate to 3000Kps (3Mps) the upload bandwidth must be at least 4500Kps (4.5Mps).
Image by Heather Fletcher
HOW TO LIVE STREAM
1. Connect All Your Sources to the Encoder
Be it via HDMI, SDI, DVI/VGA, Ethernet or Audio inputs, or whether you’re routing through a mixer or via USB into a Laptop, make sure everything that needs to be plugged in and turned on has been. Then test everything is working.
It is always a good idea to have all equipment running on mains power as opposed to batteries and to have the camera mounted on a tripod.
If you’re streaming audio – which you almost certainly will be – monitor with headphones. Don’t trust the levels displayed on your monitors – especially if using lapel mics. Check that you’re sending out clean audio!
If you’re using a vision mixer for multiple inputs, check that all cameras and video sources are online and switching.
2. Check your Encoder’s settings
As covered in the section above, configure your router for your streaming needs. Often the default settings will be sufficient, but tweaking where necessary can result in better image quality and smoother streaming.
3. Set Destination
Usually this will be case of selecting a CDN for the available pre-configured platforms such Facebook Lie or YouTube etc. If using a private destination, then configure with required settings.
Once you have selected the CDN you’ll need to go to the destination website, log in and select where the stream will be displayed (e.g. your Facebook page or a closed group etc). Then, you’ll be provided with a Server URL and Streaming Key to be copied and pasted in the relevant field in your encoder. Once that’s provided, you’ll usually get a Preview Screen of what the encoder is sending the destination platform, and be able to title your streaming event and add a description.
4. Start streaming
Then it is simply a matter or selecting “Start Streaming” or “Go Live” (or schedule the stream for a specified start time) and you’re live! Prepare for a lag of anything up to 30 seconds.
Once you have set up and broadcast your first streaming event you’ll quickly learn both how simple the process is and what pitfalls are inherent to the process. The best advice is to test thoroughly beforehand, set up a dummy account on a platform and do several test streams to iron out any technical issues. This is especially true when using a vision switcher. Switching between several inputs – even just two cameras - can take some practice to get down smoothly.
Of course, the more complex or ambitious your streaming event becomes, then turning to the experts becomes an option. There are many excellent professional services who can come in and provide all the equipment and expertise required to pulled off a polished event.
Ready to try? Book our live streaming kit for only $400 per day until August 31, 2020. Contact our hire teams in Sydney and Melbourne to talk through your set up today.


