The Importance of the Prep Day
Production is full of uncertainties, the tools you bring to set should not be one of them. Gear Prep Days are a mainstay of production, and since rental houses have existed, ACs, DOPs and video technicians have used prep to ensure their equipment functions as expected and that creative needs can be met. In this article Jordan Allison, Video Rental Lead, breaks down the various elements of a successful prep and why you should allow time for one.
By Jordan Allison
Lens Test
A lens set has two major components to determine its suitability for any project, they can be defined as Practicality and the Look. A successful lens test can help determine which lenses are right for a project.
The Look
As part of the testing process, consider the specific look a lens gives your image There are many factors that can affect the all-important "look" of a lens, but let's cover a few key areas.
- How soft or sharp
- The colour rendition
- The contrast
- Flare characteristics
- Focal lengths
- Distortion
- Focus falloff
Whilst looking at a chart can reveal some of these characteristics, there are better ways to get a feel for the coveted "look." At SUNSTUDIOS there are a great deal of different environments to see how the lens reacts. There is no empirical test that can be applied to what is a creative choice, however I usually recommend the following: Replicate some setups you would be using in the project, see how the lens behaves in different environments; and see how the lens reacts to various lighting conditions.
Practicality
When testing the practicality of a lens set, there are a few factors to consider.
- Lens sharpness
- Number and range of focal lengths available
- The maximum T Stop of the lenses
- Minimum focus
- Its physical attributes (weight, front outer diameter, sensor coverage)
- The accuracy of the focus witness marks
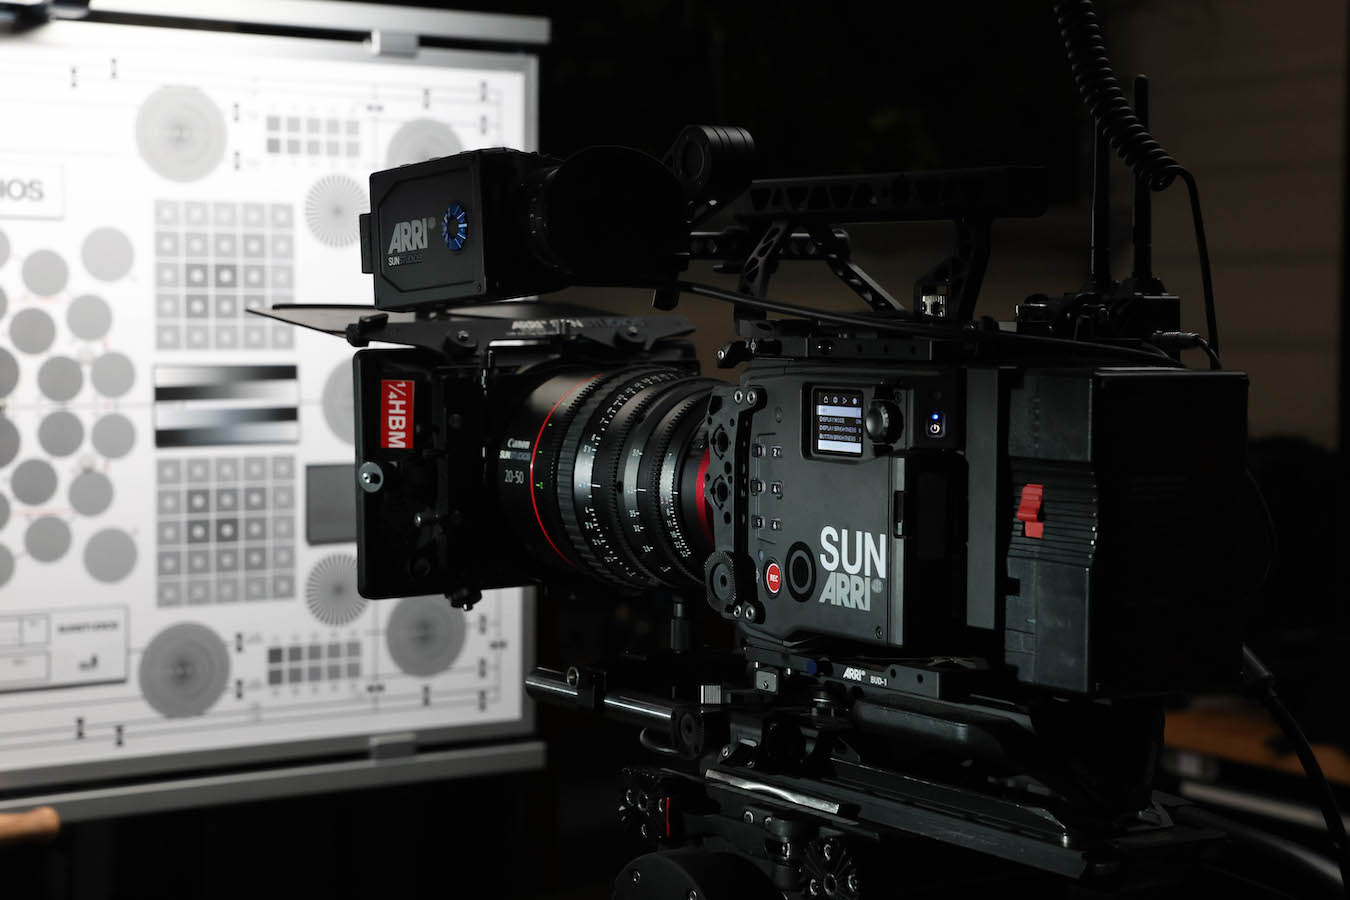
We can test all of these on the Opti-Glide Camera test bay. Let's break down the steps required to ensure an accurate lens test.
- Build the camera on the test podium
- Align the test bay laser with the focal plane marker of your camera
- Move the test chart to fill the frame
- Check the distance readout of the Opti-Glide against the witness marks on the lens.
- Analyse the image.
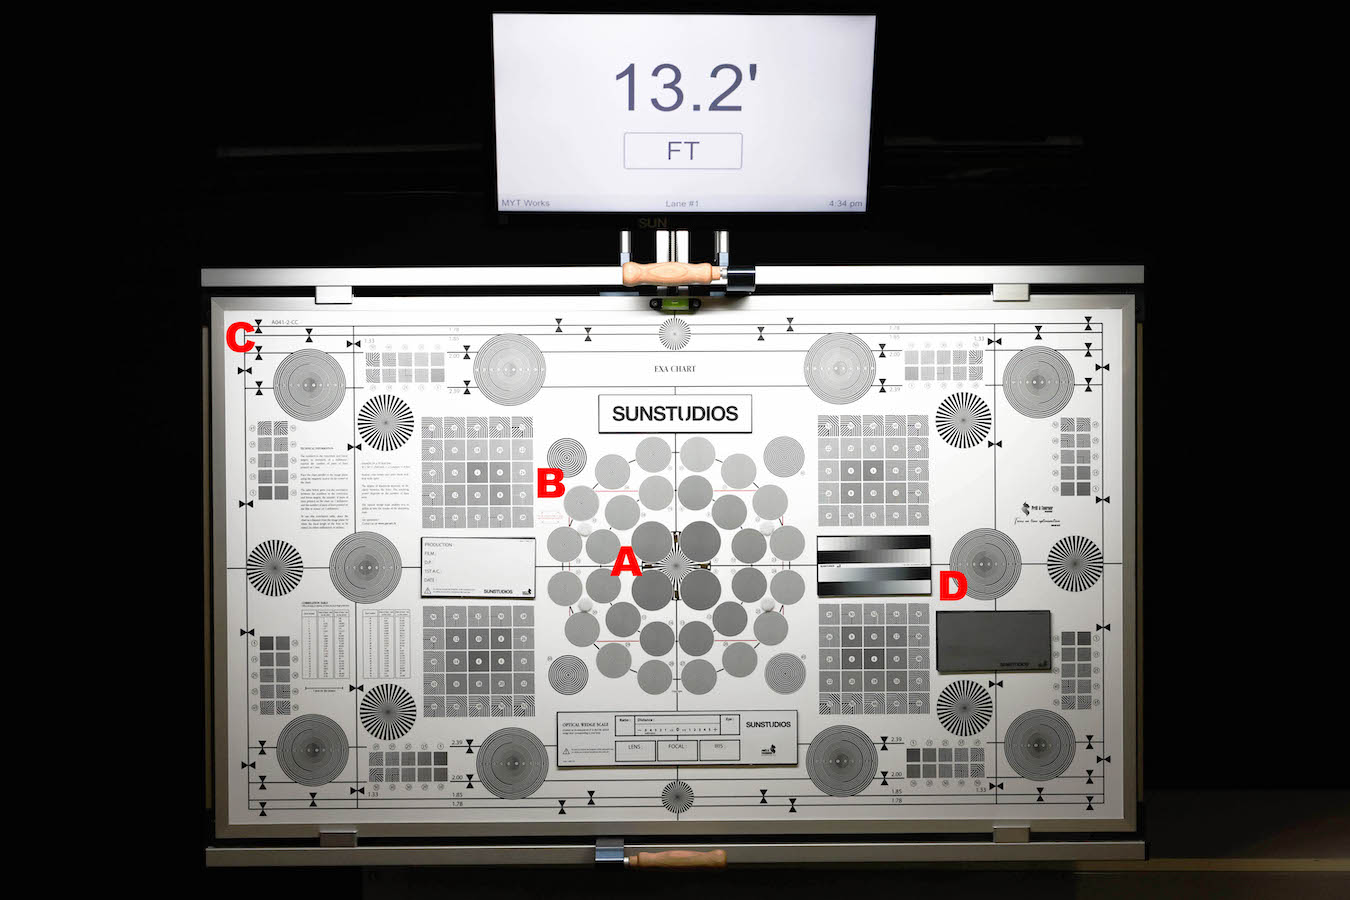
Let's break down the different elements of the chart. We use a chart from Prêt À Tourner, a company producing optical sights for industry staples like Otto Nemitz and Panavision.

By Jordan Allison
A. Siemens Star Target
- A series of converging lines allowing the user to determine critical focus
- Pull focus until this chart resolves as much detail as possible
B. Concentric and Linear Sharpness Targets
- A series of lines tightly packed allowing the user to determine the sharpness of the lens, and compare it to different areas in the frame
- Look for the smallest number that the lens can resolve, compare that to targets of the same value in other areas of the frame to determine lens resolution
C. Frameline Compliances
- A series of frame lines to ensure that the lens behaves as needed within various aspect ratios
- Use this to determine how different aspect ratio extracts will perform within the frame
D. Grey Card / Grey Scale
- Precise neutral grey targets for setting white balance and for determining lens contrast
- Use this to set the white balance of the camera to ensure accurate colour sampling and compare how different systems render different contrasts within an exposure
E. Macbeth Chart (not pictured)
- Precise industry standard colour chart, allowing to compare colour rendition of different camera and lens sets
- Set your white balance using the neutral grey, after which the colour characteristics can be determined
- You can also use this chart to get a baseline of different cameras, allowing for a closer match of different camera systems
The Camera Setup
Potentially the most important part of the test day. All camera builds are effectively a mix of different systems. Let's break down the various parts of a camera system and some things to check.
Lens marks
Using the Opti-glide system we can test our optical pathway to make sure the witness marks on the lens line up with the focus achieved. We can then adjust this by shimming the lens or camera or changing the calibration on a FIZ system.
The motorised lens chart allows for this process to happen much faster than traditionally, no longer needing to pull out the measuring tape and moving the camera after each measurement.
Accurate lens witness marks are essential for a focus puller. In order to ensure the subject is in focus on each of their marks.
Video Pathway
Video feeds are sent out of our cameras for various applications. When prepping a camera, it is important to check if all the video hardware is compatible, for example wireless video connectivity, video conversion, colour correction (LUTs). Monitors and wireless video transmitters can often expect different standards in signal strength and phase, Level A or B, 1.5G, 3G, 12G, Resolution etc.
Camera Build
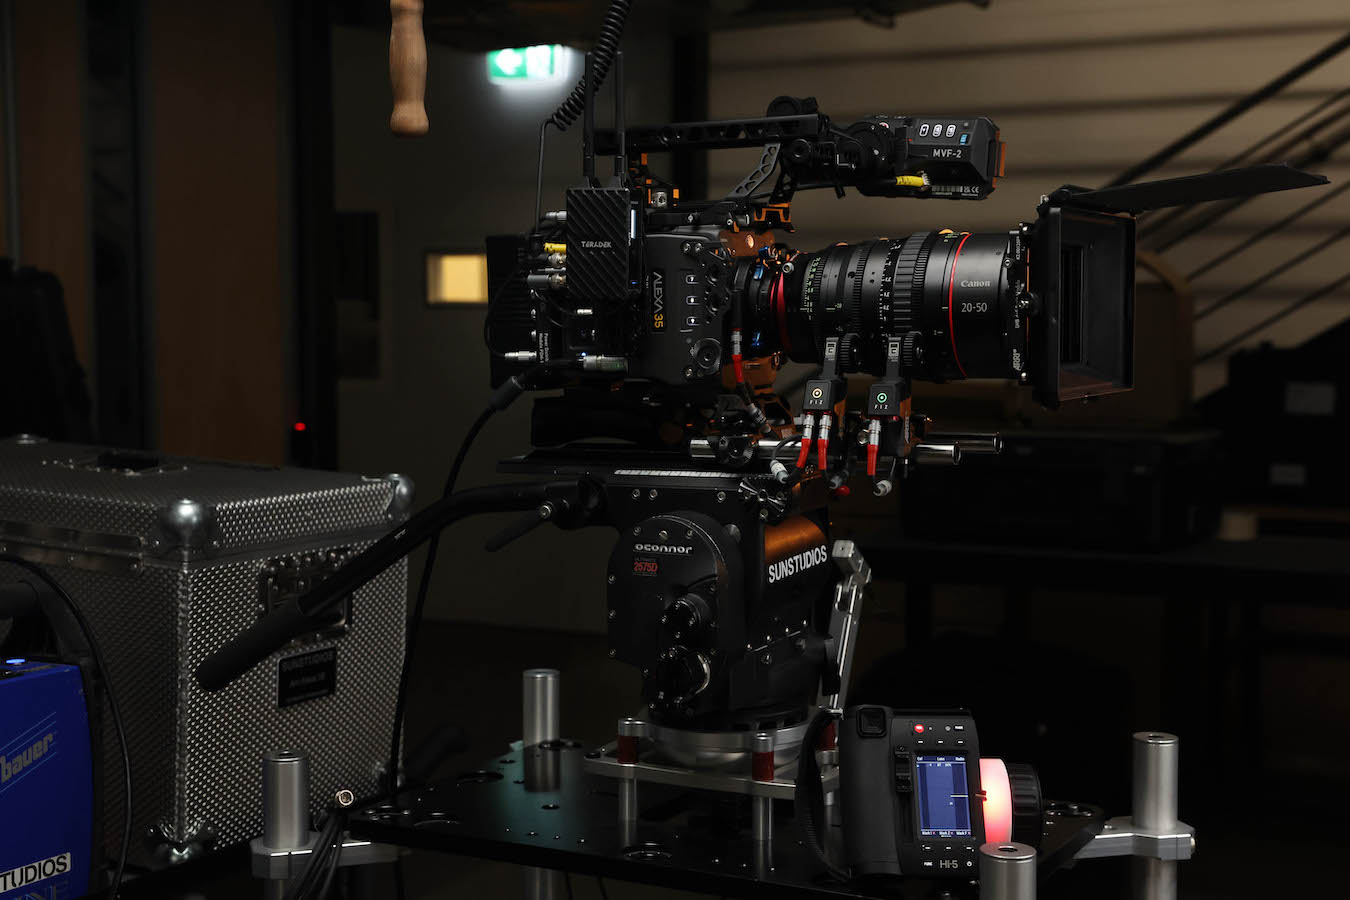
Critical to a smooth production is an efficient camera build. Use the prep time to build the camera into each of the configurations you will need on set ensuring all the rails, supports, cables and mounting hardware are included in your camera package. Consider adding quick releases to your package to make changing between setups faster, like going from Studio build to Steadicam.
By Jordan Allison
A day's preparation can often be yet another thing to budget for, but ultimately proper preparation prevents poor performance, if you spend a day ahead of the shoot troubleshooting things you might encounter, your production runs smoother and ultimately can make or break a shoot. Lastly, prep is an opportunity to get answers to any questions you might have about the equipment. The Prep Technicians who prepare your equipment are deeply knowledgeable, and as always are there to help.


